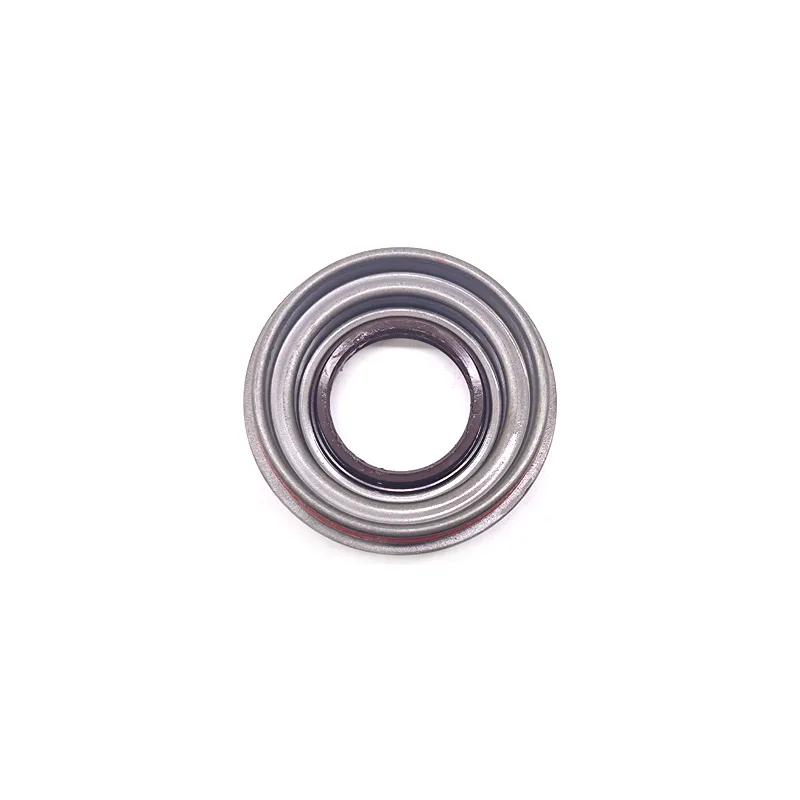
Introduction to Transmission Left Oil Seal
Maintaining your vehicle’s transmission system is crucial for its overall performance and longevity. One critical component within this system is the transmission left oil seal. This small but essential part ensures that the transmission fluid does not leak out, thus keeping the transmission well-lubricated and operating smoothly.
Common Symptoms of a Faulty Oil Seal
One of the initial signs of a compromised transmission left oil seal is the presence of transmission fluid under your vehicle. You might also notice transmission fluid levels decreasing more rapidly than usual. Additionally, noises from the transmission area can indicate a failing seal. It’s important to address these symptoms promptly to prevent further damage to the transmission system.
Steps to Replace the Transmission Left Oil Seal
Replacing the transmission left oil seal requires several steps. First, ensure the vehicle is safely lifted and secure. Next, drain the transmission fluid to prevent spills. After removing the relevant parts and bolts, you will have access to the faulty seal. Gently pry out the old seal, being careful not to damage surrounding components. Place the new seal and reassemble the parts in the reverse order. Always refer to the vehicle’s service manual for specific instructions and torque specifications.
Conclusion
Replacing a transmission left oil seal may seem daunting, but with the right tools and a bit of patience, it’s a manageable task. Keep an eye out for the symptoms of a failing seal to ensure timely replacement, thus avoiding more significant transmission issues down the line. Regular maintenance and inspection are key to keeping your vehicle’s transmission system in top condition.

